GZCLP
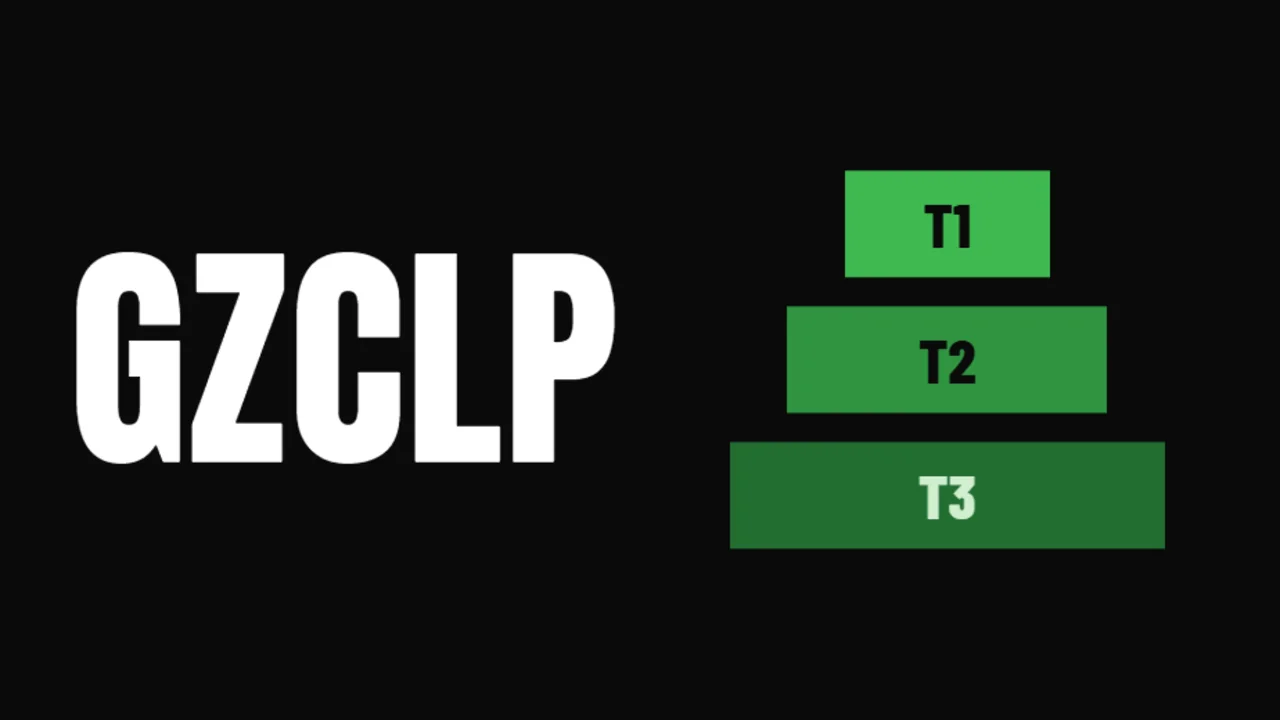
Cody Lefever's tier-based program. T1 is your main strength lift (5×3+), T2 is a supplemental compound (3×10), and T3 is a light accessory (3×AMRAP 15+). Four rotating workouts hit every major pattern twice per week.
Free during beta · auto progression, rest timers & PR tracking built in
What is GZCLP?
GZCLP is the linear-progression entry point to Cody Lefever's GZCL method, and probably the best answer to "what do I run once I've learned the lifts". The method sorts every exercise in a session into three tiers by how heavy it is and how much it matters. T1 is the day's main lift, trained heavy for five sets of three with the final set pushed for as many reps as you can get (3–8). T2 is a second compound done lighter for three sets of 10–12, building muscle and volume tolerance. T3 is an easy accessory — lat pulldowns or rows here — for three sets of 15 to 25 reps, chasing the pump rather than the bar weight.
The program runs four rotating workouts: squat, overhead press, bench and deadlift each take a turn as the T1, and each reappears on another day as a lighter T2. Every big lift therefore gets practiced twice a week — once heavy, once for volume — which is more exposure than most 3-day novice routines offer, and a big reason people who stall early on 5×5 programs keep moving on GZCLP.
Is GZCLP right for you?
This is a beginner program in the best sense: the decisions are automated, the sessions are recoverable, and the built-in accessory work means you're adding size while the numbers climb. If you're new to barbells, or coming off StrongLifts or Starting Strength wanting more direct back, arm and pressing volume, GZCLP is the obvious pick. If you've already ground through a year of linear gains and your main lifts are deloading every few weeks, you've outgrown it — the GZCL family continues with The Rippler for pure strength or Jacked & Tan 2.0 for size.
How progression works
Each tier progresses by its own rule, which is the quiet genius of the system. The T1 lift adds weight every successful session — 5 kg on squat and deadlift, 2.5 kg on bench and press — and after a third miss the weight drops 10% so you can rebuild with momentum. T2 runs double progression: hold the weight, work all three sets from 10 toward 12 reps, and once every set hits 12, add 2.5 kg and start over at 10. T3 is simplest — same weight, push each AMRAP set toward 25 reps, then bump it yourself. DropSet applies the T1 and T2 rules automatically and logs the AMRAP sets that decide them, so the only thinking left is the lifting.
DropSet runs this progression for you — every session's weights are computed automatically from your training maxes and logged AMRAP sets.
GZCLP — every set, every session
Percentages are of your training max (TM). AMRAP = as many reps as possible on the final set.
Day 1 — T1 Squat
| Exercise | Sets × Reps | Rest |
|---|---|---|
| Squat (Barbell) | 4×3 1×3–8+ AMRAP | 2:30 |
| Bench Press (Barbell) | 3×10–12 | 2:30 |
| Lat Pulldown (Cable) | 3×15–25+ AMRAP | 2:30 |
Day 2 — T1 OHP
| Exercise | Sets × Reps | Rest |
|---|---|---|
| Overhead Press (Barbell) | 4×3 1×3–8+ AMRAP | 2:30 |
| Deadlift (Barbell) | 3×10–12 | 2:30 |
| Bent Over Row (Barbell) | 3×15–25+ AMRAP | 2:30 |
Day 3 — T1 Bench
| Exercise | Sets × Reps | Rest |
|---|---|---|
| Bench Press (Barbell) | 4×3 1×3–8+ AMRAP | 2:30 |
| Squat (Barbell) | 3×10–12 | 2:30 |
| Lat Pulldown (Cable) | 3×15–25+ AMRAP | 2:30 |
Day 4 — T1 Deadlift
| Exercise | Sets × Reps | Rest |
|---|---|---|
| Deadlift (Barbell) | 4×3 1×3–8+ AMRAP | 2:30 |
| Overhead Press (Barbell) | 3×10–12 | 2:30 |
| Bent Over Row (Barbell) | 3×15–25+ AMRAP | 2:30 |
GZCLP — common questions
What do T1, T2 and T3 actually mean?
They're effort tiers. T1 is the day's main barbell lift at the heaviest load — 5×3 with the last set taken for max reps. T2 is a second compound at a weight you can control cleanly for 3×10. T3 is light isolation or machine work for sets of 15 or more. Roughly: T1 builds the strength, T2 builds the muscle behind it, T3 fills in everything else.
What weight should I start with?
Lighter than your ego wants. Pick a T1 weight you could triple for eight or nine sets, not five — starting at your true 5×3 max is the fastest route to a week-three stall. Log a recent heavy set in DropSet and it estimates your e1RM to suggest sensible openers for each tier.
What happens when I fail?
One bad session costs nothing — keep the weight and attack it again next time. Miss the same T1 lift three sessions running and the weight drops 10%, then you climb back with a bigger base of reps behind you. T2 works the same way after two stalls at a weight.
How long does a GZCLP session take?
About 45–60 minutes. The T1 triples need honest 2–3 minute rests and eat roughly 20 minutes; T2 takes about 15 with shorter breaks; the T3 pump work moves fast.
How is GZCLP different from StrongLifts or Starting Strength?
Those routines are almost all heavy sets of five. GZCLP keeps the heavy barbell work but adds a volume tier and a high-rep accessory tier on top, spreads it over four shorter days, and uses AMRAP sets so you can see a stall coming weeks before the bar stops moving.
Source: GZCL method by Cody Lefever
DropSet is not affiliated with or endorsed by the program's author. The program structure (sets, reps, exercise selection) is presented as published methodology.
Run GZCLP in DropSet
Training-max calculation, AMRAP tracking, automatic progression, plate calculator and rest timers — the whole program, ready to log.